Pages

Saturday, April 16, 2011

Weight and Pregnancy

Was browsing trough the internet and found this interesting article. Here is a snippet of the article:
How much weight should a woman gain during pregnancy?
It is considered normal to gain 10 to 12kg (22 to 26lb).
For practical reasons the pregnancy is divided into three periods:

  • the first period runs from week 0 to 12 where it is normal to gain 1 to 2kg (2 to 4lb).
  • the second period runs from weeks 12 to 28 in which it is normal to gain 300 to 400g (10 to 14oz) a week.
  • the third period runs from weeks 28 to 40 and it is normal to gain 1 to 3kg (2 to 6lb) a month.
It is not necessary to be obsessive about your weight during pregnancy. Many obstetricians have stopped weighing women other than at their first visit because the information is of little use in detecting problems with the mother or her baby.
However, excess weight gain is probably best avoided since most women will want to return to the same dress size within a few months of delivery.
Where do the extra kilos come from?
  • A total weight increase of about 11.2kg (24lb) is normal.
  • A baby weighs approximately 3.5kg (7lb 11oz) before birth.
  • The uterus grows to approximately 900g (1lb 14oz).
  • The placenta weighs approximately 650g (1lb 6oz).
  • The amniotic fluid weighs approximately 800g (1lb 12oz).
  • The woman's breasts grow by approximately 400g (14oz).
  • The weight of the extra blood is approximately 1.25kg (2lb 12oz).
  • Water retained in the body tissues weighs approximately 2kg (4lb 6oz).
  • The layer of fat beneath the skin weighs approximately 1.7kg (3lb 11oz).
So mommies out there, the next time someone made fun of you saying that the baby is only 3kg but you gained 10kg, shove them the list :)

P/s: No, I am not pregnant. Not yet ;p

Friday, April 15, 2011

Heartwarming

I've watched so many videos of babies in the womb. Each and every one of them never failed to remind me how my heart fluttered and the wonderful feelings I had when I hold my newborn for the first time. Thanks Fatih for posting this video in your blog. Just like you, I was holding back my tears :) Wonderful.

Mini Mushroom Pizza

Hubby is more of "tekak melayu" so given the choice, he would prefer to eat lauk pauk with rice. Whenever I have craving for pizza and we decided to order a delivery, he would opt for spaghetti and I am down with limited choice because I can only order personal pizza with one type of topping :(

I am in a mission to make sure our child(ren) loves pizza as much as I do :) So when I saw this box at MPH the other day, I bought it without thinking twice. At RM39.90, it was a good buy.


For a lot less than the price of a pizza stone itself, you can find easy step-bystep instructions for everyday dinners and gourmet delights. This kit includes: " a 48-page recipe book full of tasty pizza ideas " 9-inch pizza stone for the perfect crispy base " Wire rack for serving " Metal pizza cutter for perfect slices every time - MPH Book Store- 
The first pizza I tried to bake from the recipe book was Famous Mushroom Pizza. I made only 1/3 of the original recipe and added some frankfurters as well. Here is how I made the pizza for Adam, adapted from the recipe book. It yielded 2 mini pizza for my lil' boy.

Base
1/2 teaspoon dry yeast
1/3 cup warm water
1/3 teaspoon sugar
1 cup plain flour
1 tablespoon olive oil
1/2 teaspoon salt

Toppping
1/3 tablespoon olive oil
1/2 cup tomato paste
1 onion, sliced
shiitake mushroom, sliced
2 chicken frankfurter, sliced
a little more olive oil to drizzle over pizza
Cheddar cheese, grated (make sure it's not fresh from the fridge like mine. It did not melt but became crunchy instead ;p)
salt and pepper to taste
sprinkle of dried pizza mixed herbs (original recipe asks for rosemary but I happen to have the pizza mixed herbs in hand)

Directions
1. Dissolve the yeast in the warm water with the sugar. let stand until it foams. (if it did not foam after 6 minutes, throw the yeast. The water might not be at the right temperature or the yeast is old. I threw my first batch of yeast as it did not foam but the second batch did not foam as well but I still use it and turned out OK. So, don't worry too much)
2.Sift the flour into a bowl and add the yeast mixture, olive oil and salt. Mix to combine and set aside until doubled in size.
3. Turn out onto floured board and knead to form a soft dough.
4. Press a piece of the dough, about the size of a ping pong ball onto a pizza tray.
5. Brush the pizza base with the olive oil, soread liberally with tomato paste, then add the onion, mushrooms and frankfurters. Drizzle with more olive oil and cover liberally with the cheese, salt and pepper. Sprinkle with the dried herbs.
6. Place in a preheated oven at 220C for 15 - 20 minutes.

Thursday, April 14, 2011

I Like That

Terasa muda remaja pulak bila dengar lagu ni :)

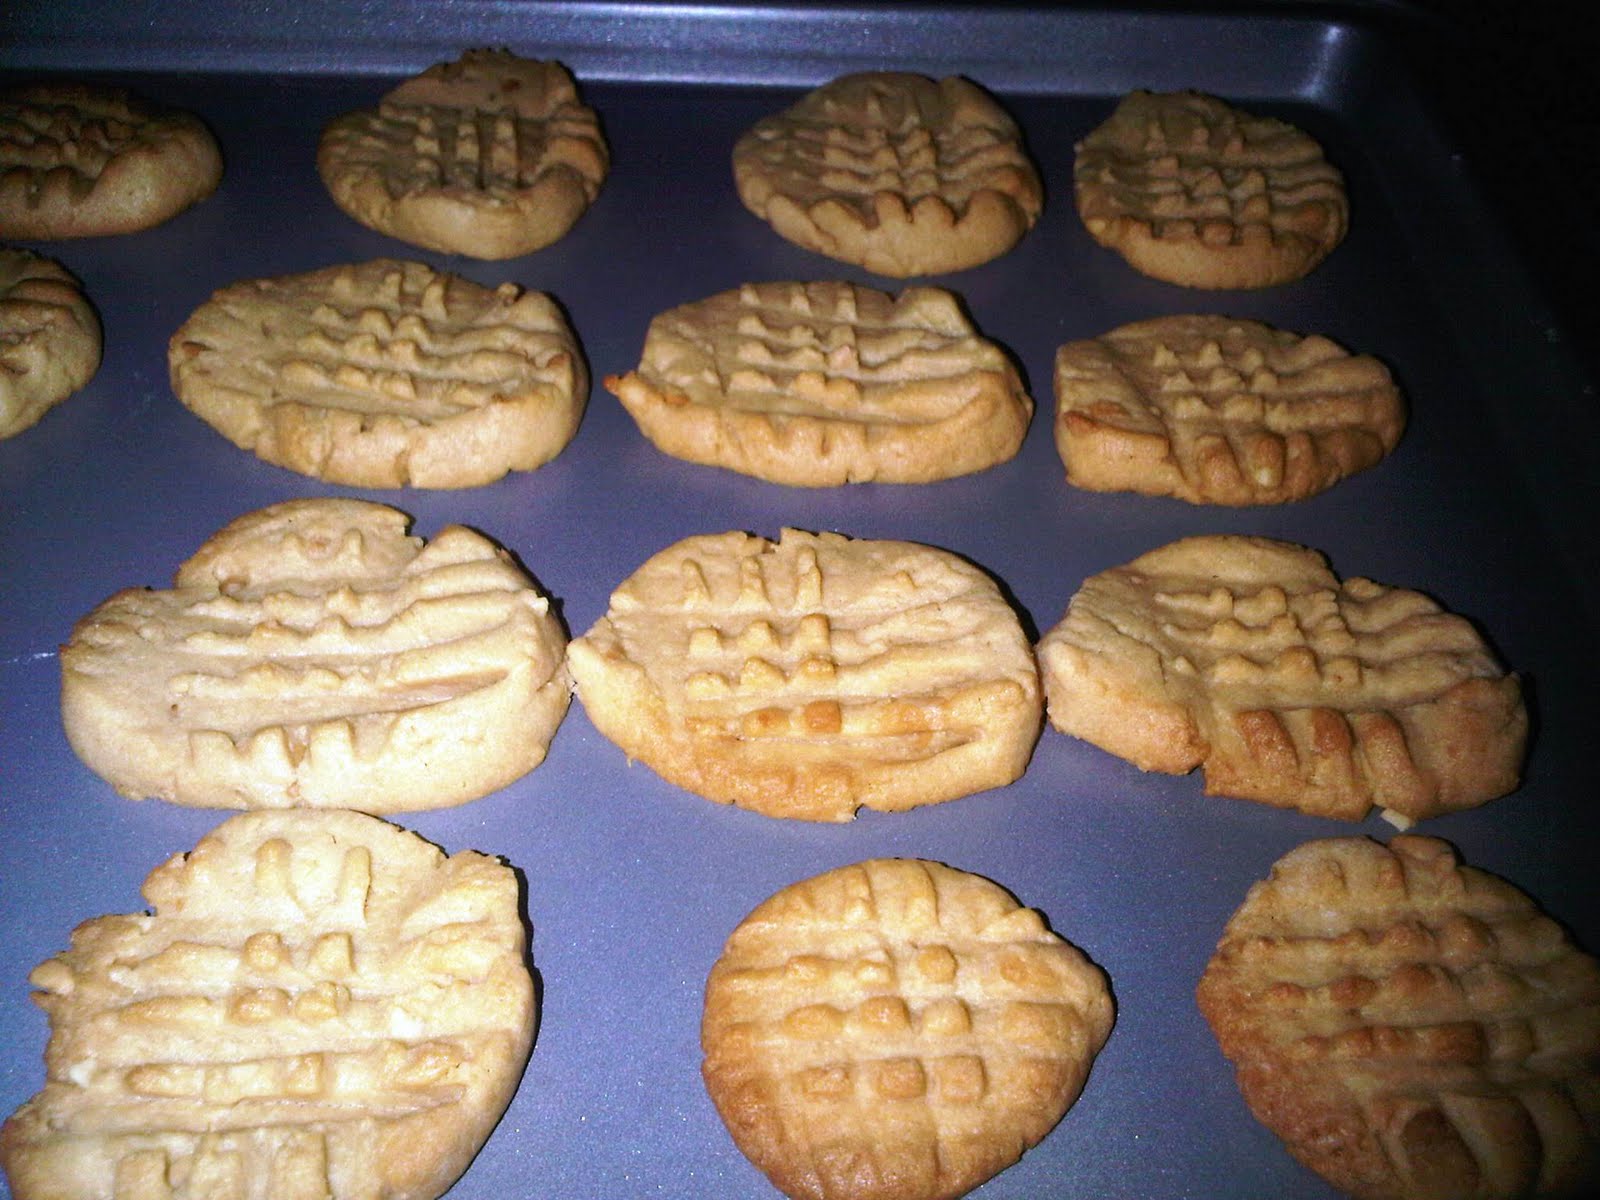
Peanut Butter Cookies

Another cookie recipe? I found cookies easier for a beginner like me. Cakes are more complicated and most importantly, neither Adam or his dad are a big fan of cakes. It feels good to see Adam's cookie jar full of homemade cookies and every time he had one, he will tell me "daaap". That one word is enough to motivate me to bake more cookies.

As I am still new with cookie baking, I am excited to try as much recipe as possible so I would know which one my lil' cookie monster loves most. Anyway, I baked this before my "Main Masak-Masak" session with the girls last weekend. Started making it at midnight and done by 1.30am as the dough required some chilling before I can bake them. So here is the recipe for your own lil' (or big) cookie monster at home.


Ingredients
6 tablespoons butter
6 tablespoons sugar
150g crunchy peanut butter
1 egg
3 tablespoons golden syrup
175g plain flour
1 teaspoon baking powder

Directions
1. Preheat the oven to 180c. Lightly grease two baking sheets.
2. Cream the butter and sugar together until pale and fluffy. Add the peanut butter, egg and golden syrup and beat until well combined.
3. Sift the flour with the baking powder and work into the mixture to form a soft dough. On a lightly floured surface, knead the dough lightly, then shaped into thick log. Cover with plastic wrap and let chill for 30 minutes.
4. Cut the dough into slices 5mm thick and space well apart on the baking sheets. Press a criss-cross pattern into the dough with the tines of a fork.


5. Bake until golden, 10-12 minutes. Let cool on the baking sheets for 2-3 minutes, then transfer to a wire rack to cool completely. Store in an airtight container for up to five days.


Cookie Tip
1. Use smooth peanut butter if you prefer a creamier texture.
2. The recipe actually yields 24 pieces if you roll a very thick log. I guess mine was not as thick as I managed to get 40 pieces out of it. Just the right size for Adam and the rest of the kids :)